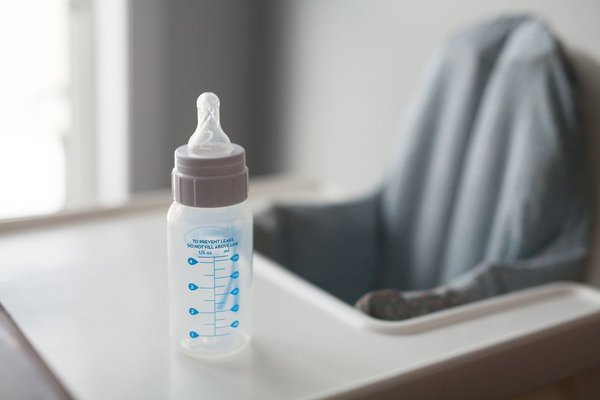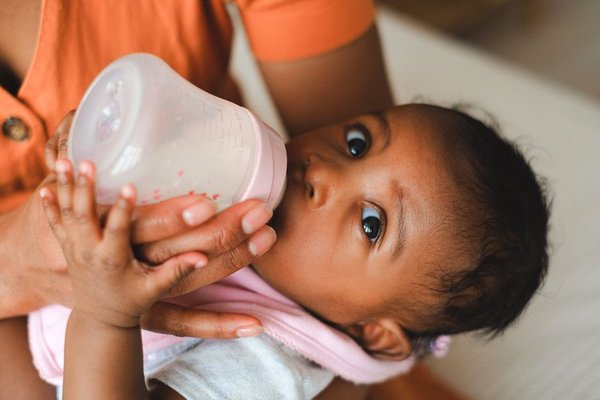
Knowing how to sterilise baby bottles makes feeding time less complicated, especially when you are juggling washing up, preparing feeds and a tired baby. You do not need an elaborate routine: clean the equipment, use a suitable sterilising method and keep everything hygienic until the next feed.
This UK guide covers the three main approaches: steam, cold-water solution and boiling. Each works differently, but all begin with thorough cleaning.
When do baby bottles need sterilising?
The NHS recommends sterilising bottles, teats and other feeding equipment until your baby is at least 12 months old. This applies whether you use infant formula or expressed breast milk. Young babies are more vulnerable to infections, including those causing diarrhoea and vomiting.
Clean and sterilise feeding equipment after use, ready for the next feed. Sterilising cannot replace washing because milk residue must be removed first. Include bottle caps, retaining rings and washable parts that contact milk.
Clean everything before sterilising
Wash your hands with soap and water and clean the work surface. Take each bottle apart so milk cannot remain trapped around the teat, ring or cap. Check for cracks, tears and other damage, particularly around teat openings.
Wash the parts in hot, soapy water as soon as practical after a feed. Use a clean bottle brush reserved for feeding equipment and a small teat brush for narrow areas. Rinse everything under clean, cold running water before sterilising.
A dishwasher can clean compatible bottles and accessories, but it does not replace sterilisation under NHS guidance. Teats may still need hand cleaning. Do not use salt to clean teats. A consistent cleaning baby bottles routine makes the next stage much easier.
Method 1: Using a steam steriliser
Electric and microwave steam sterilisers
A steam steriliser uses heated steam to treat cleaned feeding equipment. Electric models plug into a socket, while microwave models generate steam in a microwave-safe container. Both are convenient when sterilising feeding bottles several times a day.
Add the water quantity specified by the manufacturer, arrange the disassembled parts as directed and position bottle and teat openings facing down. Close the unit, then run its recommended cycle. Times and capacities differ between models.
Allow the steriliser to cool before opening it: hot steam can cause burns. Keep the lid closed until equipment is needed, within the manufacturer’s stated storage period. For microwave models, check that all items are microwave-safe and contain no unsuitable metal components.
When does steam work best?
Steam is convenient for families who sterilise batches of bottles. It needs no sterilising chemicals, although appliances must be cleaned and may need descaling in hard-water areas. A microwave model can save worktop space.
Method 2: Cold water sterilising
Cold water sterilising uses purpose-made tablets or liquid mixed with water according to the product instructions. It requires no electricity and can be useful when travelling or when a steam steriliser is unavailable.
Prepare the solution using the correct amount of water in a clean container. Fully immerse washed equipment, removing trapped air bubbles from bottles and teats. Use the floating cover or plunger to keep every part below the surface.
Leave equipment immersed for at least 30 minutes, following the manufacturer’s directions, and replace the solution every 24 hours. Do not guess the concentration or shorten the contact time. When taking out a bottle, shake off excess solution. NHS formula-preparation advice also permits rinsing with cooled boiled water from the kettle, not tap water.
For example, if you mix fresh solution at 8 am, record that time on the container so you remember to replace it the following morning. This is especially helpful when overnight feeds disrupt your routine.
Method 3: Sterilising bottles by boiling
Boiling is a straightforward alternative without specialist equipment. First check the manufacturer’s instructions because not every bottle, teat or accessory is suitable for boiling.
Put the cleaned parts in a large pan, cover them completely with water and bring the water to the boil. Keep everything submerged and boil for at least 10 minutes. Set a timer, supervise the pan throughout and keep children away from hot water.
Allow the water and equipment to cool safely before handling. Boiling can wear out teats faster, so inspect them regularly and replace any that become cracked, torn, sticky or damaged.
What to do after sterilising
Handling matters after the cycle is finished. The NHS advises leaving bottles and teats in the steriliser or pan until they are needed. If you remove them, wash and dry your hands first or use sterile tongs.
Assemble bottles promptly on a clean, disinfected surface or the upturned steriliser lid, then fit the teat and cap to protect the inside from contamination. Never set a sterilised teat directly on an unclean worktop. Follow your appliance instructions on how long bottles can remain in a closed steriliser.
Safe formula preparation is a separate step. A preparing powdered baby formula guide can help you keep sterilisation and feed preparation distinct rather than assuming sterilisation makes a prepared feed safe indefinitely.
Which bottle sterilisation method should you choose?
Steam suits regular batches but requires power and an appliance. Cold-water solution is portable but needs accurate measuring and daily replacement. Boiling needs only a suitable pan, yet requires supervision and may shorten teat life.
Think about how many bottles you use, where you can store equipment and whether you need a method away from home. For bottles with valves or narrow openings, check the maker’s care instructions. It is also worth knowing when to replace baby bottle teats so damaged parts do not stay in use.
Frequently asked questions
Do I need to sterilise bottles after every use?
Yes. During the first 12 months, NHS guidance is to wash and sterilise feeding equipment before each feed. Always remove milk residue before sterilising.
Can I just put baby bottles in the dishwasher?
No. A dishwasher can clean suitable bottle parts, but the NHS says it does not sterilise them. Clean thoroughly, then sterilise separately.
How long should bottles stay in sterilising solution?
At least 30 minutes, or longer if the product specifies. Keep every part submerged, remove air bubbles and prepare fresh solution every 24 hours.
Can I just pour kettle water over the bottles?
No. For the NHS boiling method, compatible equipment must remain submerged in water boiling in a pan for at least 10 minutes. Pouring hot water over bottles is not equivalent.
A simple routine that works
Learning how to sterilise baby bottles comes down to careful, repeatable steps: take the equipment apart, wash it thoroughly, sterilise correctly and protect it from contamination afterwards. Choose the method that fits your household, follow the instructions and make safe handling part of every feed.